
Cool Your Brew: How To Use A Wort Chiller
What you talkin’ about?
Immersion Wort Chillers
Best Immersion Wort Chiller?
The Affordable
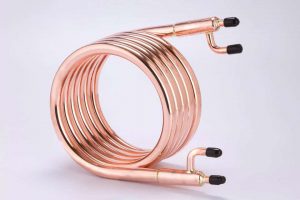
25′ Copper Coil by Adventures in Homebrewing
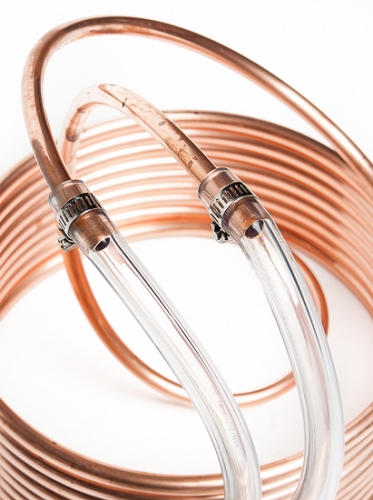
Welcome to your first basic kit upgrade. It doesn’t get any simpler than copper in a coil.
This immersion wort chiller is twenty-five feet of it. The coil itself is only 10″ in diameter which means it should fit inside most brew kettles with no problems.
Attached on either end is six feet of rubber hosing with standard garden hose adapters that allow for easy hook up to clean cold water. Faucet adapters are available for a little more that allow the wort chiller to connect directly to the kitchen sink.
Cons: Although affordable, this chiller doesn’t come with soldered barbed fittings like more advanced versions and instead the hose is attached to the bare copper with hose clamps.
If purchasing this chiller be sure to tighten the hose clamps and watch it through the entire chilling process. Do a trial run before using it to see how much flow the chiller can take and tighten accordingly.
Don’t ruin a good batch with a leak.
GET IT HERE
Top of the Line
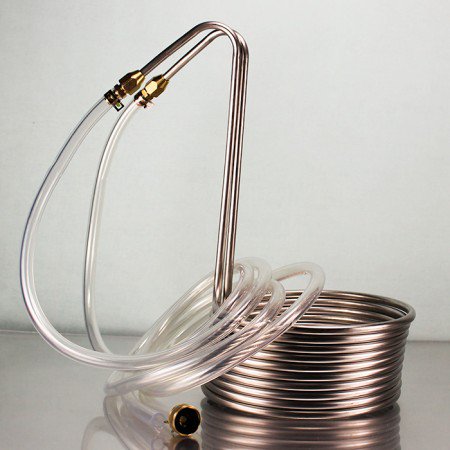
Silver Serpent Stainless Steel Home Brewing Immersion Wort Chiller
 Stainless steel has a magical property that makes it a whole lot easier to clean and sanitize.
This one is claimed to not need sanitized and can just be thrown into your wort and get with the cooling. We’re wary but for the price and quality this can’t be beat.
With its huge rise it will fit in most home brewing kettles. The inlet and outlet tube are bent in a way that prevents any leaks from flowing back into the wort. This “drop-angle” keeps the hoses out and away from the wort and off the hot pan so it is a win-win.
The fittings, barbed with hose clamps, allow a lot more water pressure to course through the wort chiller, cooling the liquid off faster.
Like most wort chillers, it comes with a hose fitting but for a little bit more a faucet adapter is available.
Cons: The only potential negatives are the height of the drop-angles and the stainless steel itself. If your brew kettles is too large or too tall then this wort chiller will hang off the side of the kettle.
Also, because copper has better heat transfer capabilities, the cooling in this worth chiller is slightly less efficient than its copper counterparts.
GET IT HERE
Plate Chillers
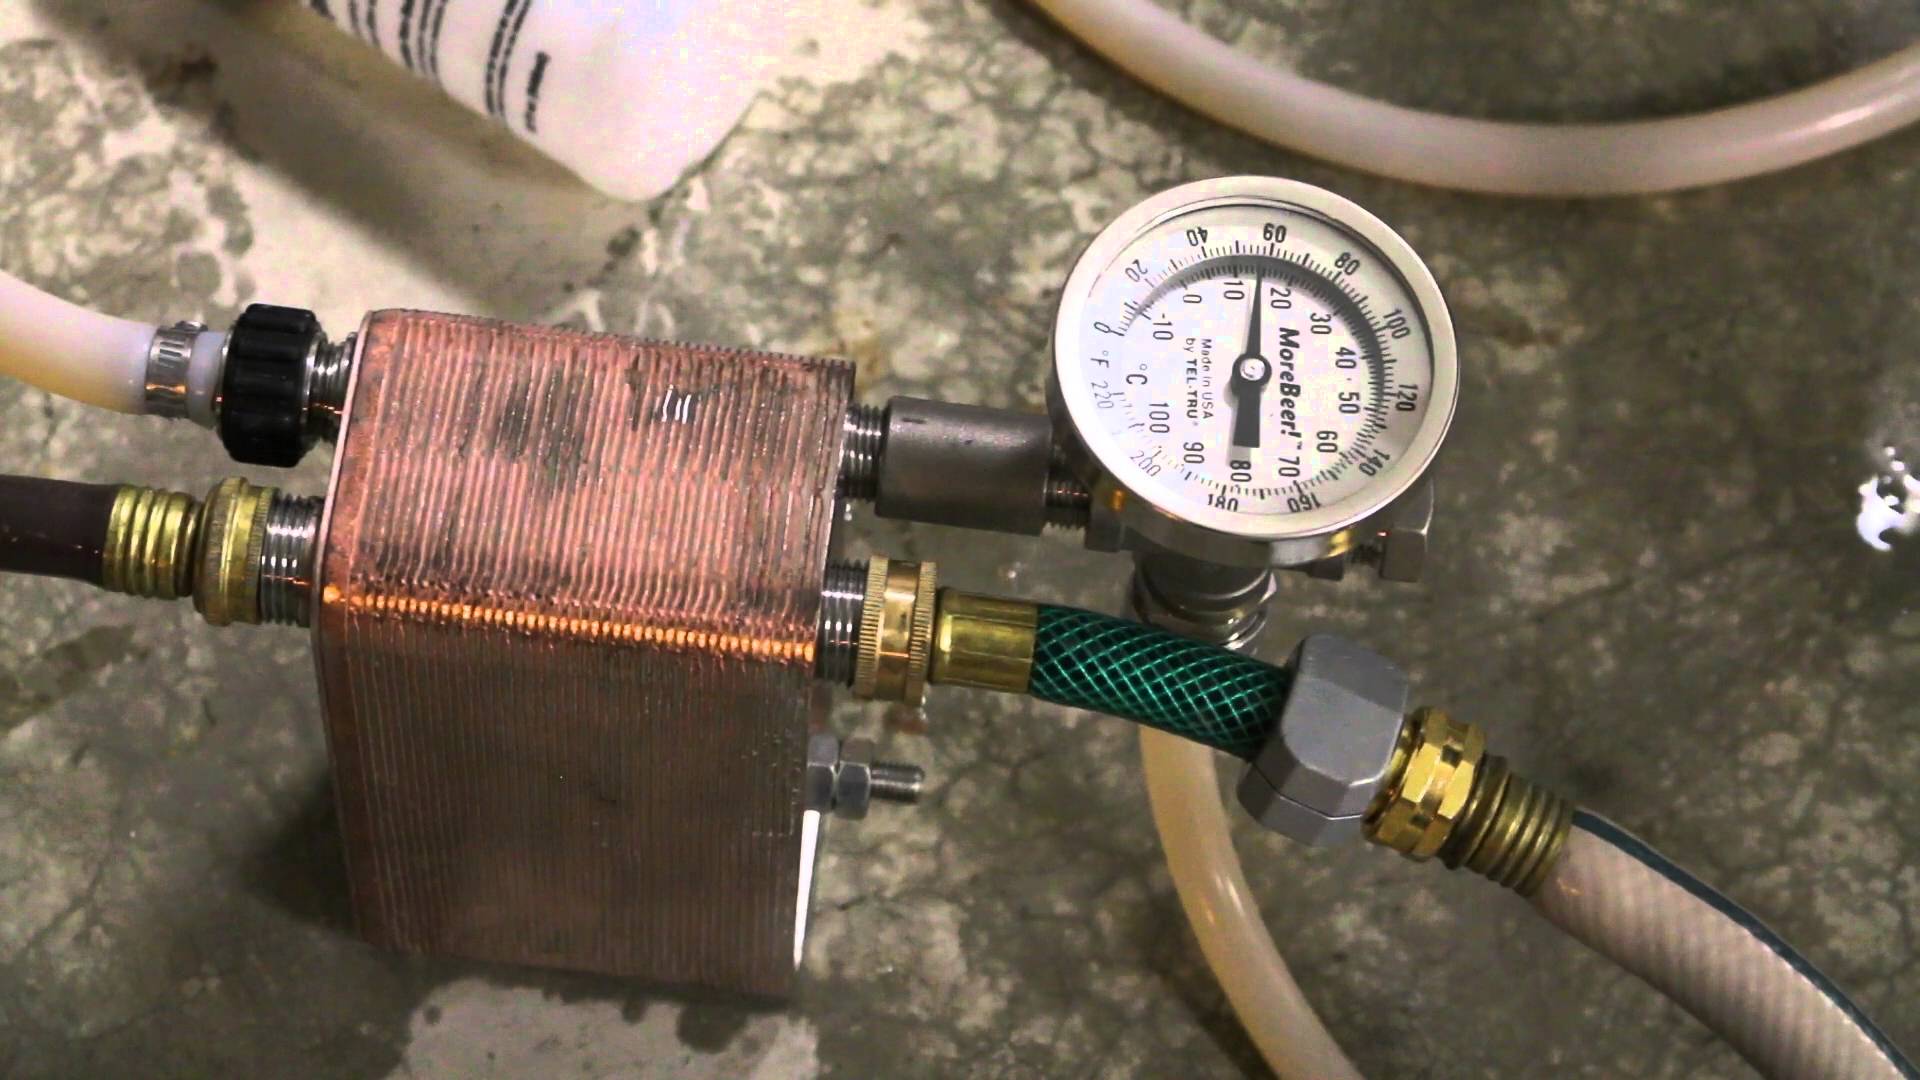
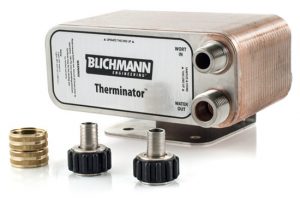
The Blichmann Therminator
The Thor of plate wort chillers
 This bad boy is as close as the homebrewer can get to professional gear without actually buying it.
Constructed of stainless steel with copper connections between the plates, it fights corrosion and has a high heat exchange rate for cooling the wort lightning fast.
It is super compact and can fit permanently in any set up. The adapters are made to fit a garden hose, like most wort chillers, but of course faucet adapters are available.
Cons: Truly the biggest issue with this wort chiller is the cost.
Sitting around a couple hundred dollars it is one of the most expensive things a beginner homebrewer can purchase to upgrade their kit before going to bigger and more complex systems. Also, plate chillers can be a bear to clean and sanitize and some are at risk of clogs depending on the water source, however the Therminator’s wide inlets keep the liquid flowing.
GET IT HERE
The zChiller
Compact counterflow coils.
 The most common counterflow wort chiller aside from making your own is the zChiller. It comes in three variations, small, large and square.


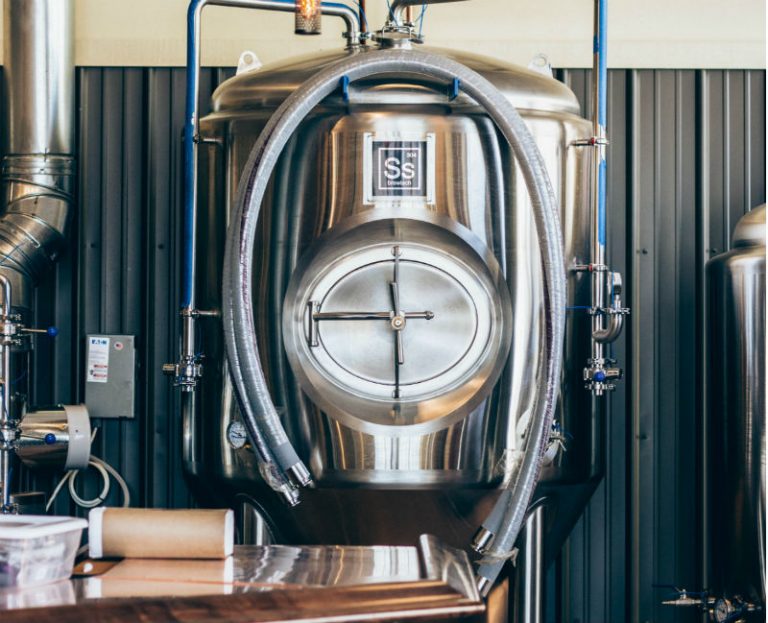
Counterflow is also used in micro brewery design. But it is not using the copper coils, it use the plate heat exchanger with the same work principle.
For example: 8M2(cooling area) heat exchange for 1000L beer system is two stages for city water and glycol water. First stage: City water, below 20℃ (about 17-18℃). cool the wort from 98℃ to 45~50℃. Second stage: the -4℃~-5 ℃ glycol water. cool the wort to fermentation temperature like 9-12℃. The glycol water becomes about 0℃ to return glycol water tank.
Jana
http://microbrewerysystem.com
Glycol in brewing is really fascinating. We want to learn more. Is it only used in systems with high production? Or do smaller systems (100-200 bbl) use it too? Something for us to research!