Dip Tubes and Bazookas: Tips for Clearer Beer
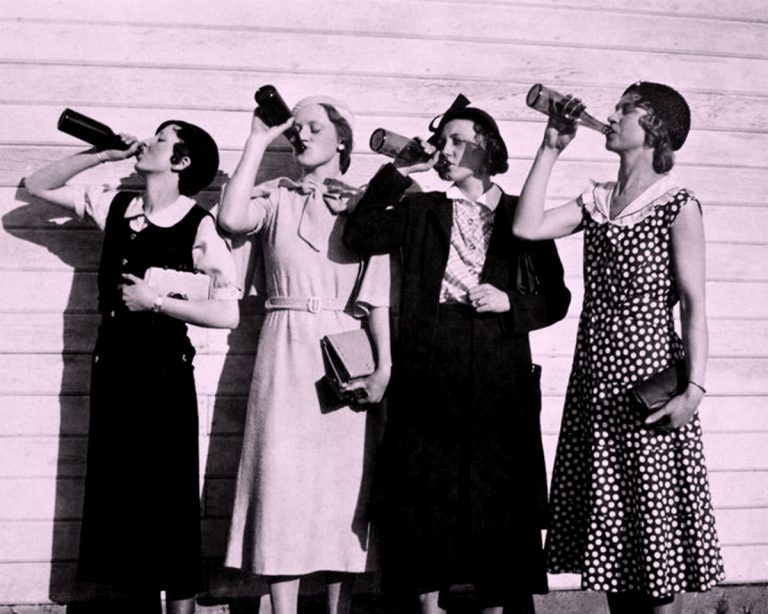
On the outside, homebrewing is easy. A little boiling water, some grain and hops, bango bongo we have beer. Sounds easy.
But then the grains start slipping out of their bag, ingredients start to disintegrate in the boil and allofasudden it’s a mess! “This gloop is beer?” Transferring the wort to the fermenter can become unpleasant. Water gets everywhere and uncertainty starts to creep in. “Did I sterilize that?” And what if your yeast happens to be particularly sprightly?

Yeah, homebrewing can be a bit sloppy.
We’re going to help make it a little less messy. It’s time to learn a few tricks on getting your hot wort to the fermenter without taking the trub with it or flooding everything.
Straining The Wort for Clearer Beer
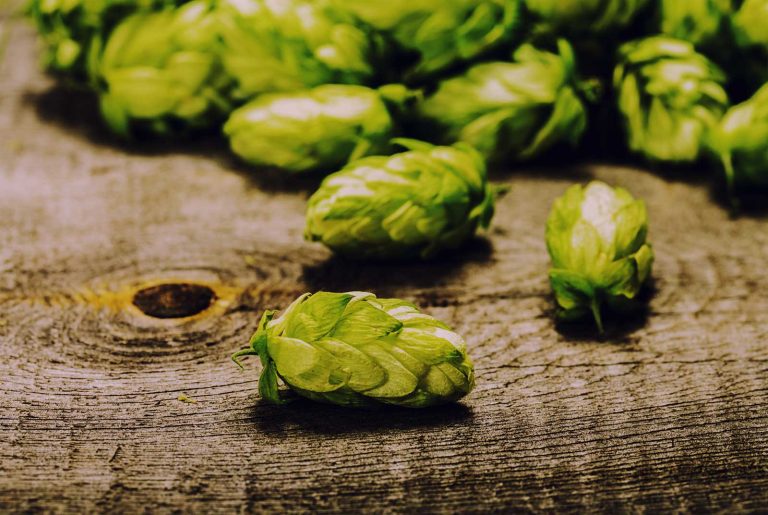
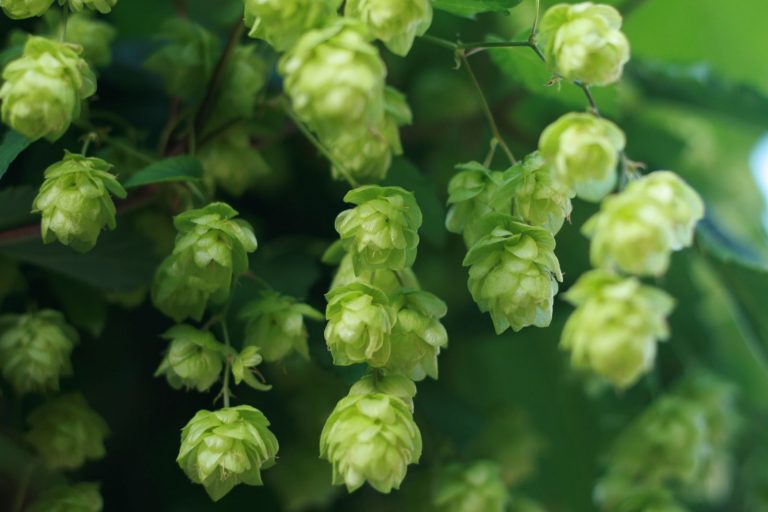
After an hour in a roiling boil, some of our brewing ingredients tend to…well turn to mush. Pellet hops disintegrate and steeped grains leave some remnants behind.
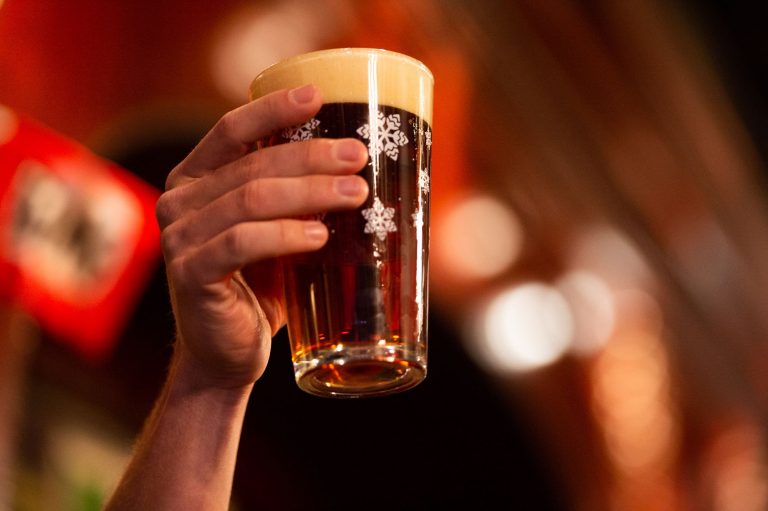
We don’t really want that in our beer. That muck and mire in our wort is called the trub. Of course it isn’t the end of the world if some gets into the fermenter. While the yeast churns and roils in the beer, the trub will eventually settle to the bottom of the vessel.
However, if we take just a few simple steps we can reduce the amount of detritus that tags along. This will give us clearer beer. Beer with no chunks. Homebrew to be proud of.
Before we get too deep, let’s review real fast. Feel free to skip ahead to the next section if you’re an old hat at this.
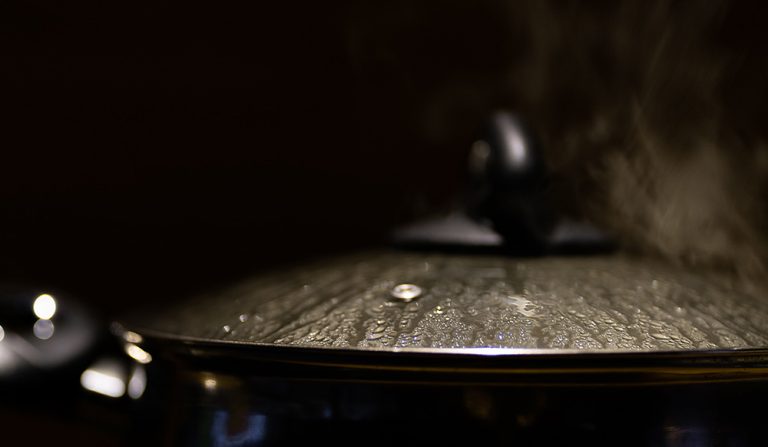
Three steps take place on brew day. Boiling, cooling, and transferring. We’re going to skip the first two and talk about transferring the wort to the fermenter.
Moving the liquid from one container to the other can be done in a few ways. First, if our brew kettles are equipped with a valve or spigot, we just open the flood gates and the liquid rushes into our fermenter. The valves often sit high enough above the trub that most of the debris stays at the bottom of the kettle. But sometimes that leaves behind the good stuff… the beer.

Then we have siphons that can pull the liquid from the kettle up and out of the vessel and transport it into the fermenter.
Both methods work and allow us to get the most out of our wort, but this is the future. There are fancy tools we can use to make everything simpler. We are going to learn all about them.
But first, whirlpools.
Whirlpooling your wort
All it takes is a spoon to change your homebrewing world.
Whirlpooling is simple. After you’ve cooled down your wort, stir the liquid fast enough to get it spinning. The faster the water rotates the stronger the whirlpool created. Once the water is spinning at a good clip, remove the spoon without agitating the water too much.
Do not halt the spin of the water. Now walk away.

Let the whirlpool come to a stop on its own. The centrifugal force created by stirring the water will force the solids in the wort to accumulate in the center of the kettle. Let it sit anywhere from ten to twenty minutes so everything can settle.
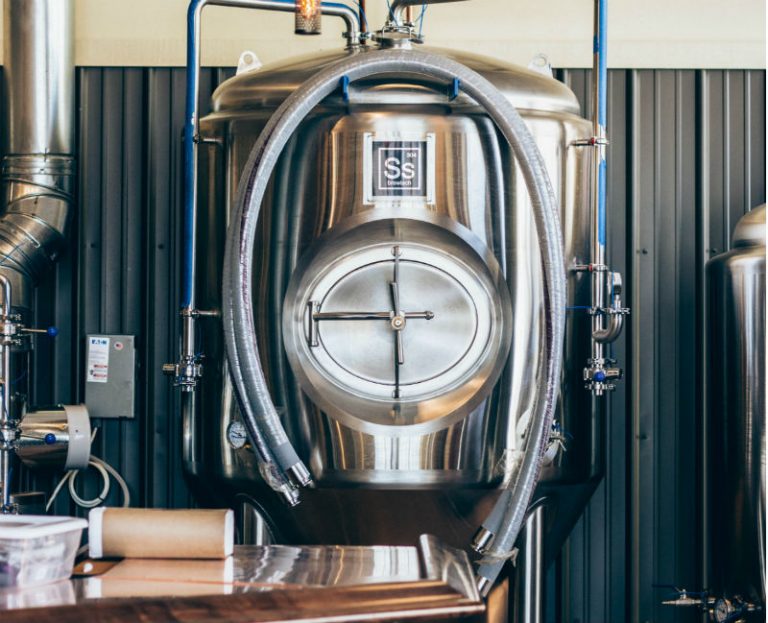
Fancier setups equipped with pumps, paddle shaped drill attachments, or counterflow wort chillers can also be used to generate the circulation.
Once the debris has settled we’re ready to move on.
Let the transfer begin!
Straining the Wort with Dip Tubes and Bazookas
Like we mentioned, this is the future and a little rudimentary whirlpools aren’t the only trick up our sleeves. Let’s talk gadgets!
DIP TUBES

Dip tubes are used to get the last bit of beer from the very bottom of the brew kettle.
Simply a bent metal tube, they attach to the kettle spigot and direct it down against the bottom of the vessel. This allows every last bit of liquid gold to be transferred from the kettle to the fermenter.
A better example is the side pickup tube. A side pickup points against the edge of the brew kettle so that after the trub has settled following the whirlpool, ALL the wort can be sucked or transferred away.
BAZOOKAS
 As fun as these might sound, unfortunately they’re just metal mesh strainers that attach to the valve tube on your brew kettle spigot. If so equipped.
Sitting above the thicker sludge, bazookas help reduce the amount of grain shells and hop leaves that slip into the fermenter. They come in various sizes and shapes that allow for higher flow rates.
They do have their faults though. Bazooka mesh is course so smaller particulates escape into the fermenter. Alternatively, the mesh is course and clogs fairly easily. This is remedied by using your spoon to scrape the bazooka off to restart the flow.
But even that is messy. Luckily we have a fix. It’s called a hop sock and it is beautiful.
HOP SOCKS
 Originally intended to keep your aromatic flowers all together in a happy family during the boil, hop socks are thin, finely meshed bags that are temperature resilient.
Hop socks are almost mandatory if you wish to keep your sanity while straining wort after using fresh hops. The petals slough off and float around as little pieces on a mission to clog anything and everything. Wrap ‘em up.
Hop socks also work amazingly as a strainer. Wrap the end of your transfer tube in a hop sock or other fine mesh strainer to keep even the finest particles from gumming up the works. Anything that gets through this will settle during the fermentation stage.
Oh no…
What? It’s brew day and you’ve got no socks! Easy brew-friend, you’re among loved ones.
These are paint strainers. Five gallon paint strainers from a big box hardware store will do the same thing as a hop sock and a bazooka all in one. They keep your fresh hops sorted, your pellet hop mush in place and doesn’t slow the flow when you’re transferring the wort. Works like a charm.